Imagine you’ve just opened a cozy little café in your neighborhood. You’ve put a lot of love into your recipes and décor, and your first customers are enjoying your delicious treats. But there’s one thing missing: many people still don’t know about your café!
That’s where a website comes in. Think of your website as an online version of your café, where people can learn about your menu, see your hours, and find out what makes your café special, all from their computers or phones.
Building a website might sound complicated, but with WordPress, it’s surprisingly simple. WordPress helps you create a professional-looking website without needing any technical skills. In this guide, I’ll show you how to set up your small business website with WordPress, step-by-step. We’ll cover everything from picking a domain name to launching your site.
By the end, you’ll have a fantastic website that helps more people discover your café and keeps your business growing.
Step 1: Plan Your Website
Planning is the foundation of a successful website. Begin by identifying what you want your website to accomplish, such as attracting more customers, providing information, or selling products.
Next, think about your target audience and what they need. Tailoring your content to their interests will make your site more appealing. Outline the key pages you’ll need, like Home, About Us, Services, and Contact, and create a simple site map to organize these ideas.
Finally, choose a design that reflects your brand’s identity, including colors, fonts, and images. This thoughtful planning will ensure your website effectively meets your goals and engages your visitors.
Step 2: Choose a Domain Name and Hosting
To get your website online, you need to pick a domain name and choose a hosting service.
First, choose a domain name that represents your business and is easy to remember. It should be short and relevant to what you do. After deciding on a domain name, register it with a domain registrar like Namecheap, which is known for its affordable and reliable services.

Next, select a hosting provider to store your website files and make your site available on the internet. For small businesses, Namecheap or Hostinger is a great option. It offers budget-friendly hosting plans with excellent performance and customer support. 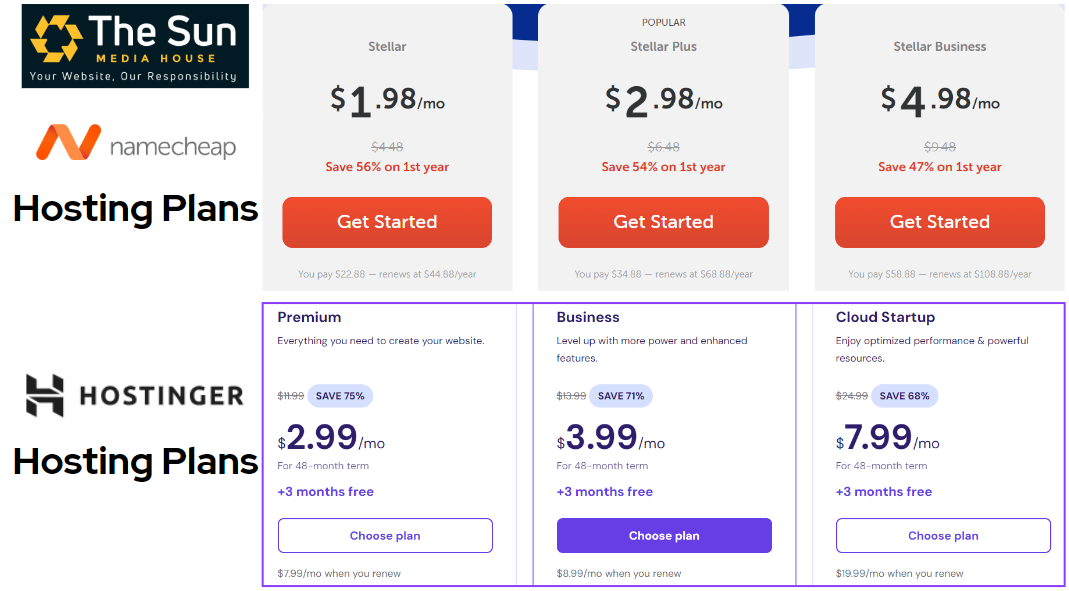
Once you’ve registered your domain and set up hosting, connect to them so your website can go live. This will set the stage for building and launching your site.
Step 3: Install WordPress
Now that you’ve registered your domain and set up your hosting, it’s time to install WordPress.
Since we’re using Namecheap hosting for this tutorial, here’s how to get started. First, log into your Namecheap account and open your hosting control panel, also known as cPanel. If you’re using a different hosting provider, the process will be similar, but the interface might look slightly different.

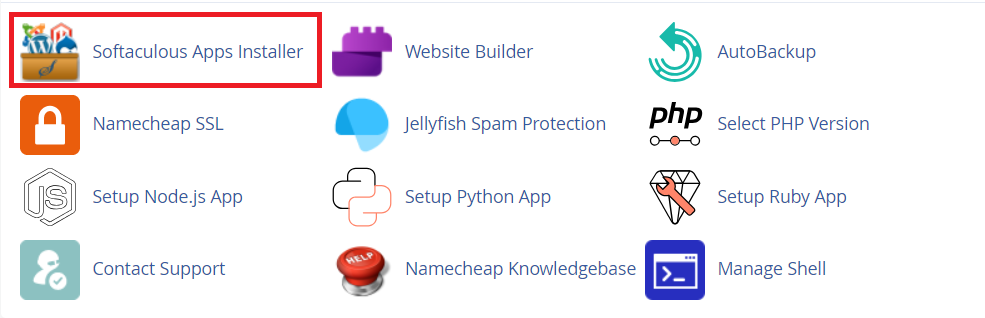
Once in cPanel, find the section called “Softaculous Apps Installer” or “WordPress Tools”, this is where you can install WordPress easily.
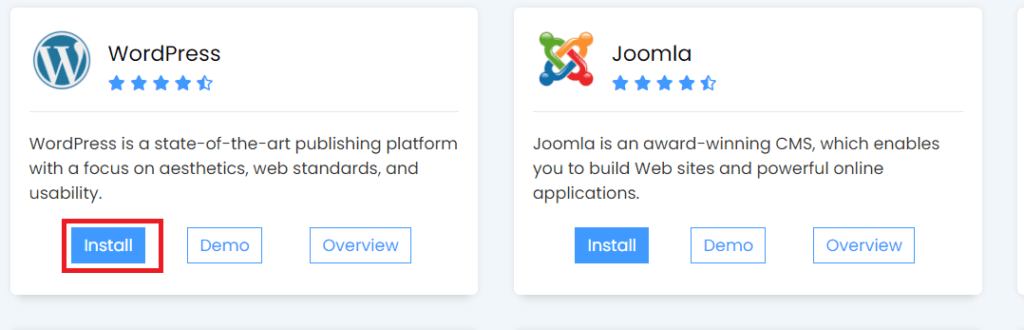
Click on the WordPress icon, and it will guide you through the installation steps.
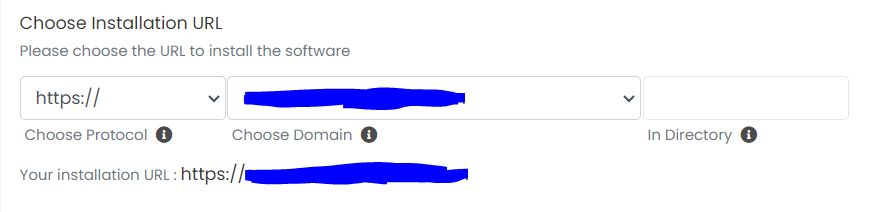
- Choose your domain: Select the domain where you want to install WordPress (the one you registered earlier).

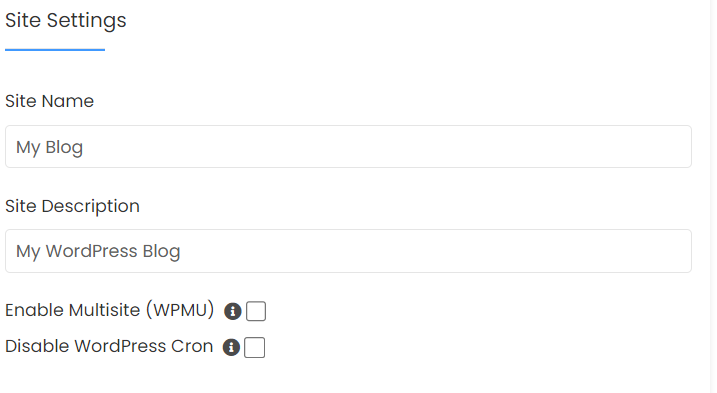
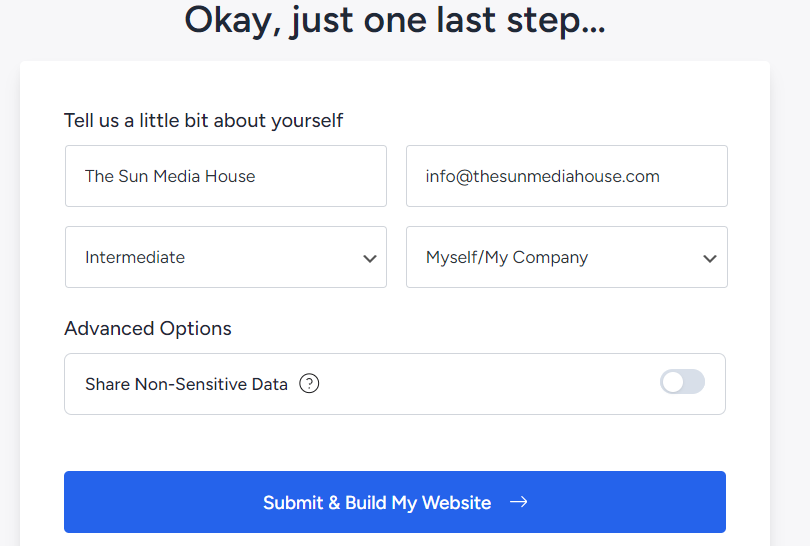
- Fill in site details: Add a site name and description. These can be changed later, so don’t worry if you’re not sure yet.
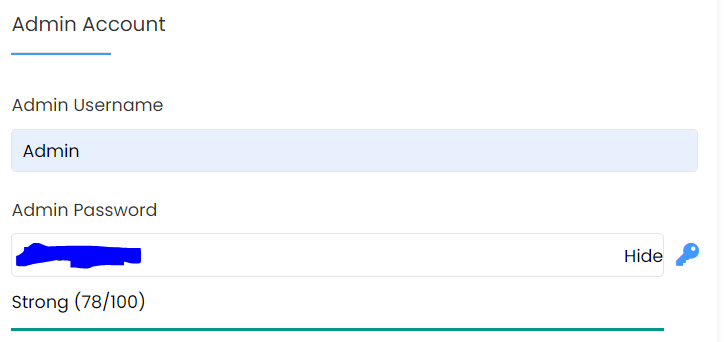
- Create login details: Set up your admin username, password, and email address. Be sure to choose a strong password to keep your site secure.
- Install WordPress: Once everything is filled in, click Install. The process will take a few moments.

After WordPress is installed, you’ll get a link to your website’s admin dashboard, where you can start customizing and building your site.
Step 4: Choose and Customize Your Theme
Now that WordPress is installed, it’s time to make your website look great by choosing a theme. A theme controls the overall design and layout of your site, and one of the best options for small business websites is the Astra theme.
For this tutorial, we’ll be using Astra along with its plugin called Starter Templates to help you quickly set up a professional-looking website.
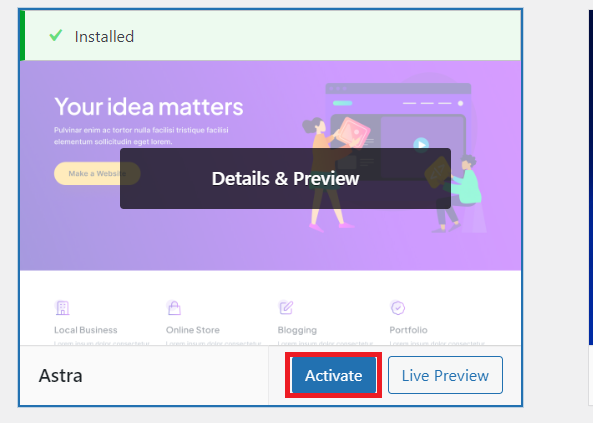
Install the Astra Theme:
- From your WordPress dashboard, go to Appearance > Themes.
- Click on the Add New button at the top.
- In the search bar, type Astra and then click Install when you find it.
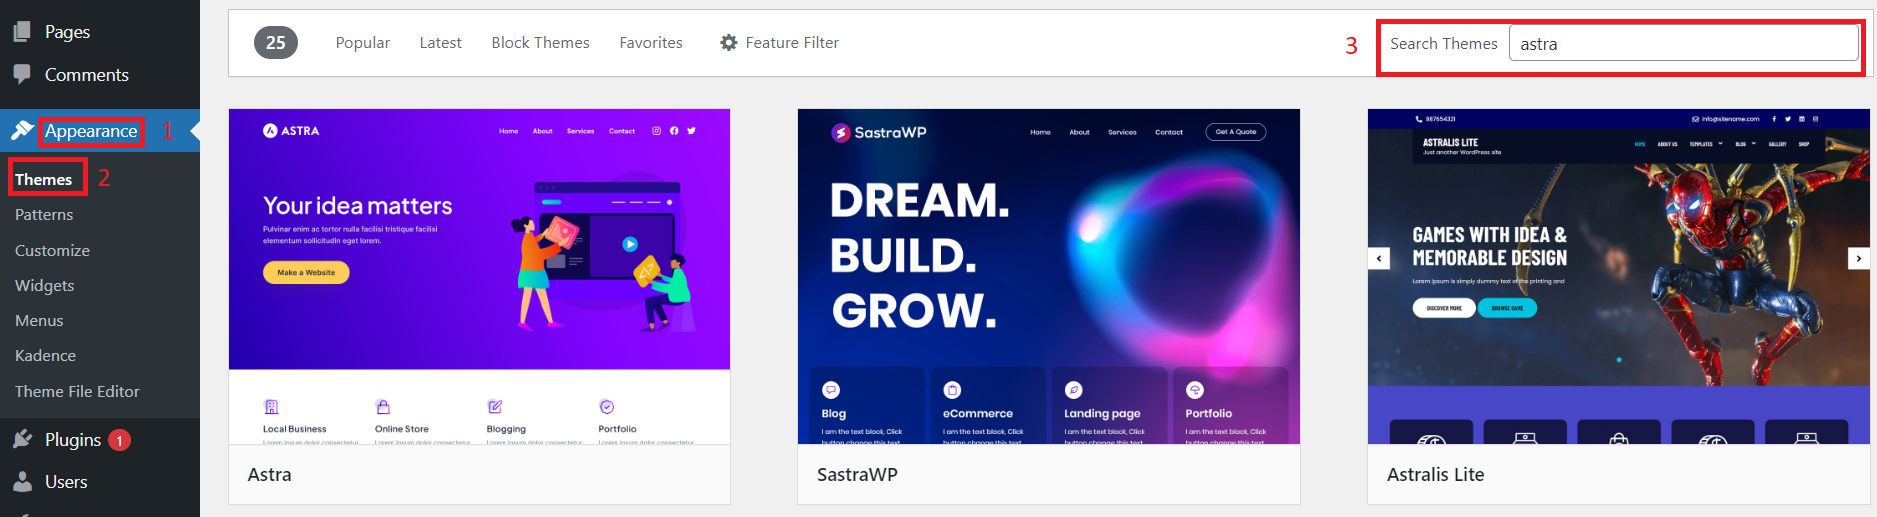
- After installation, click Activate to apply the theme to your website.
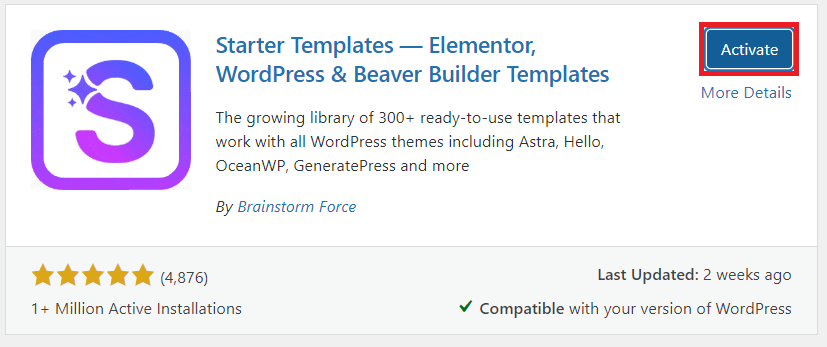
Install the Starter Templates Plugin:
- After activating the Astra theme, you’ll see a prompt recommending the Starter Templates plugin.
- Click on Get Started or go to Plugins > Add New, then search for Starter Templates.

- Click Install and then Activate.
Choose a Template:
- With the Starter Templates plugin active, go to Appearance > Starter Templates.
- Here, you can browse a variety of pre-built website templates designed for different industries.
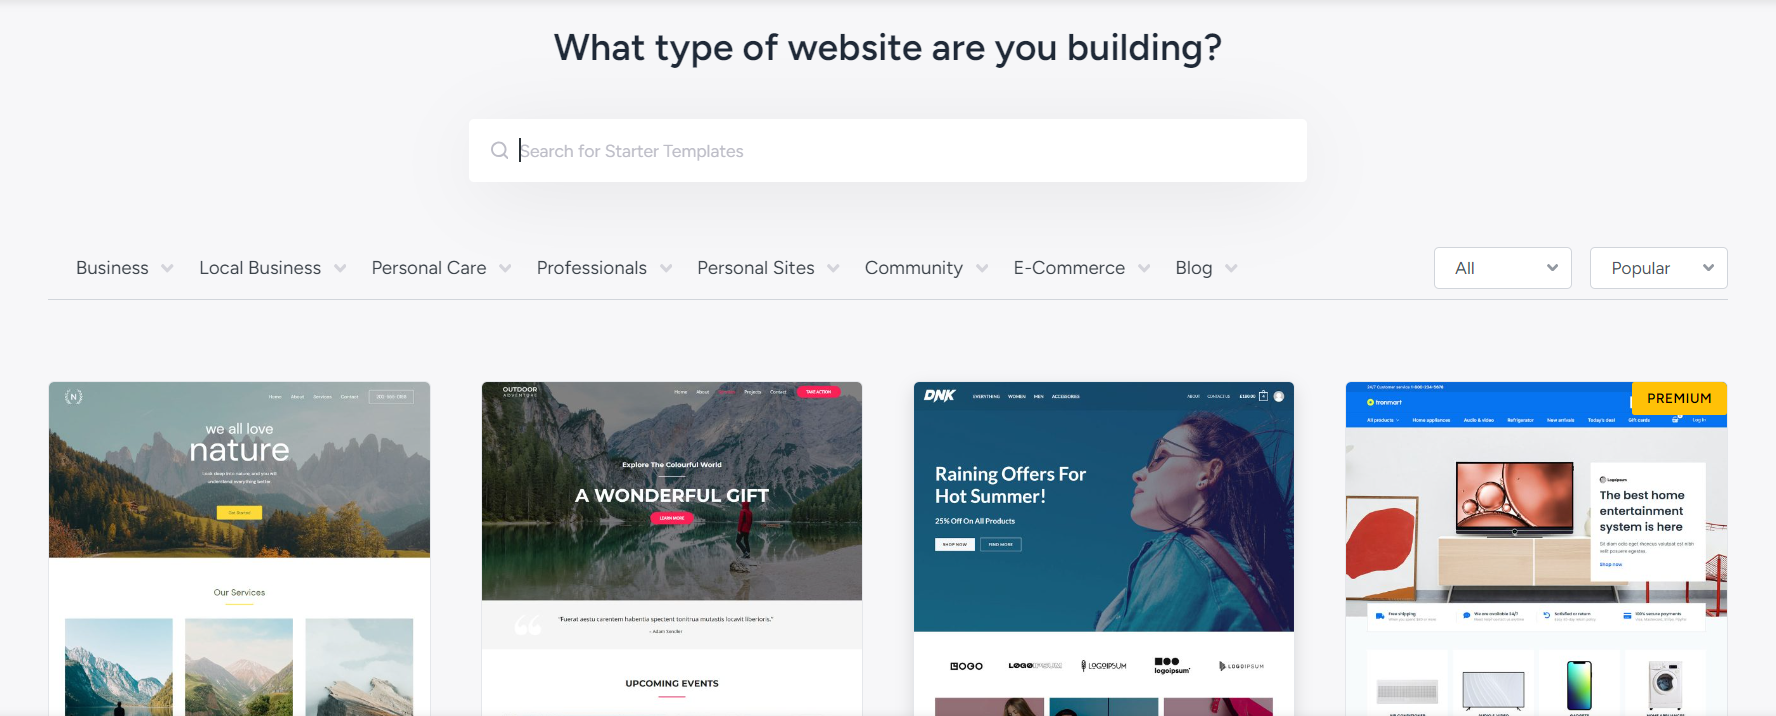
- Choose a template that matches your business and click Import Complete Site to load all the pages and settings.
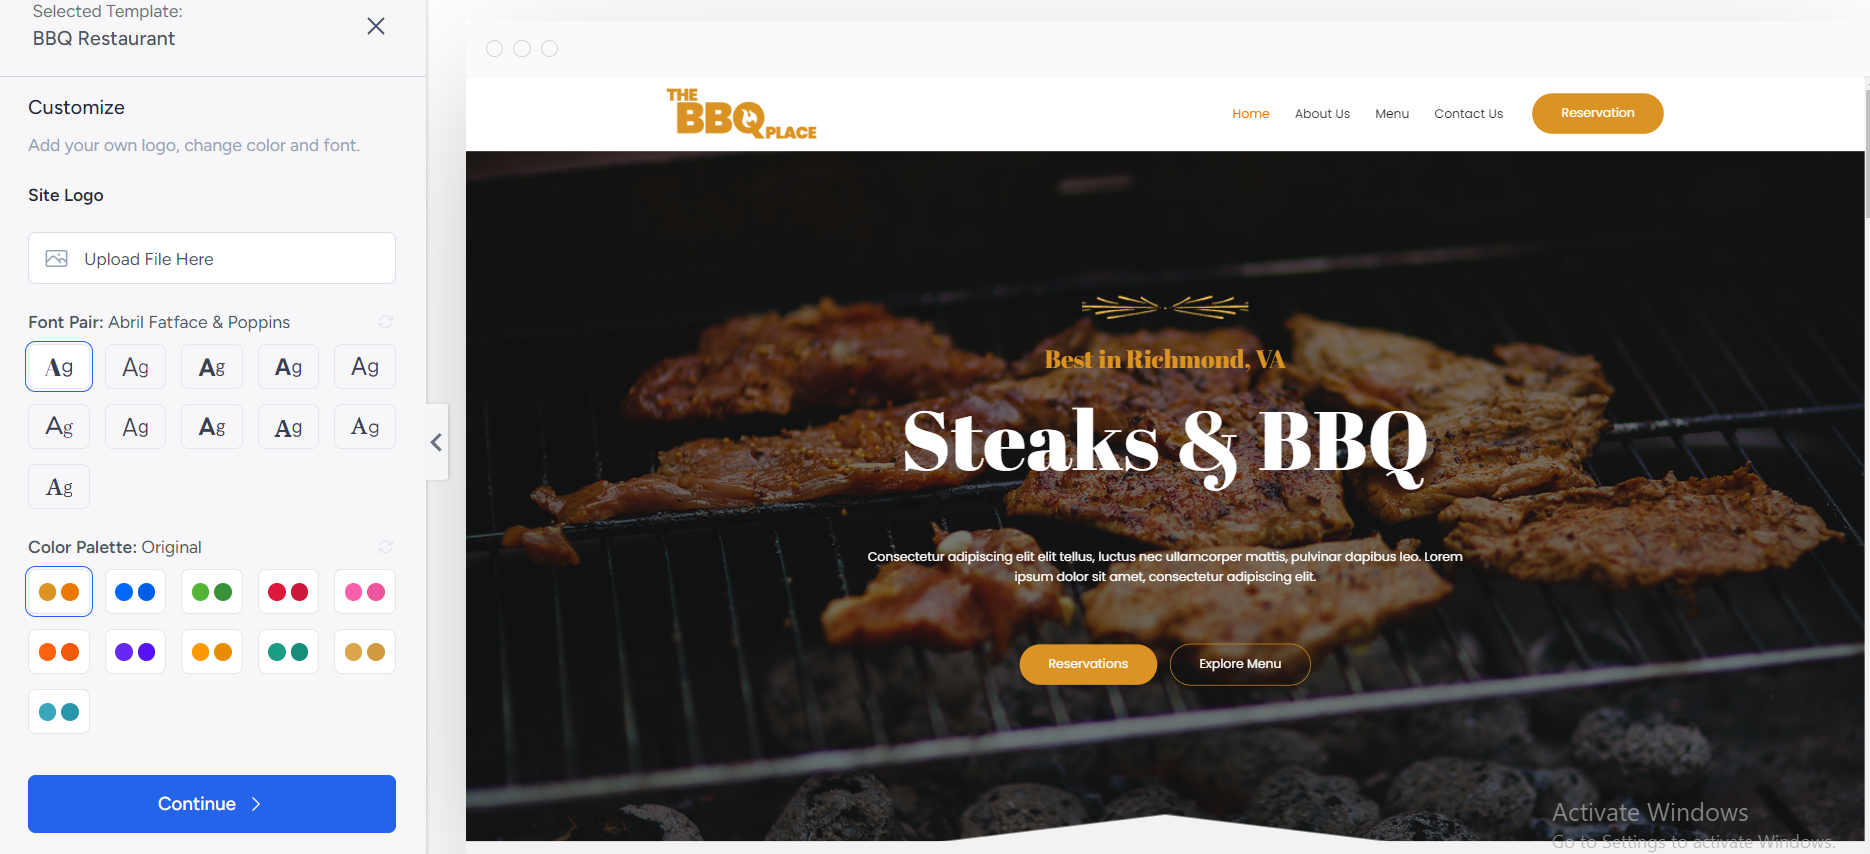
Customize Your Site:
- Now that the template is installed, you can customize it to fit your brand.
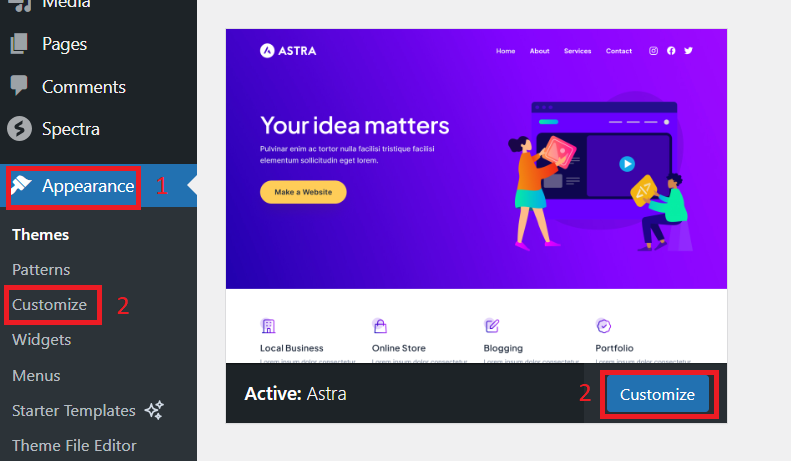
- Go to Appearance > Customize to edit the logo, colors, fonts, and layout.
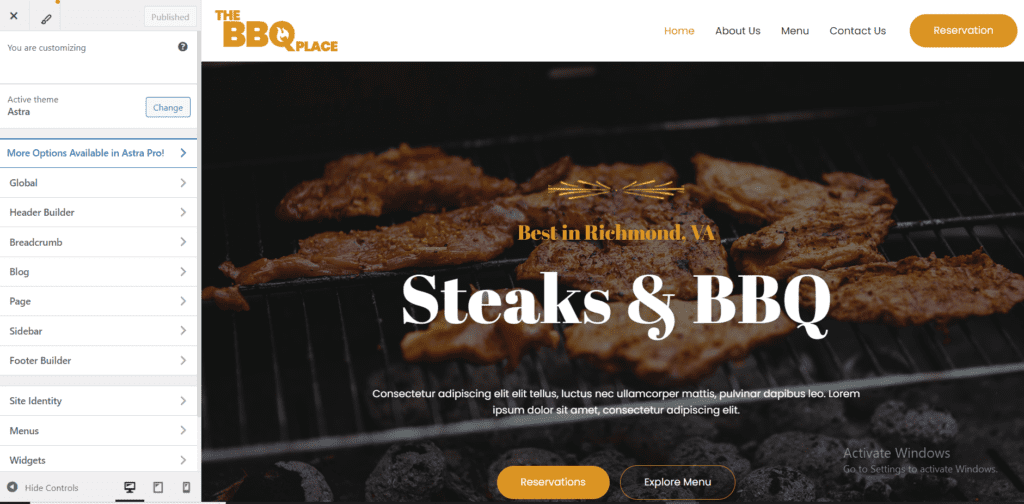
- You can also go to individual pages and update the content with your own text, images, and links by using the block editor or a page builder like Elementor, depending on the template you chose.
Astra and Starter Templates make it easy to create a professional site quickly, with plenty of customization options to make it your own. Once you’ve made your changes, click Publish to save your customizations and bring your website to life.
Step 5: Add Essential Pages and Content
Now that your theme is ready, it’s time to add important pages and content to your site. Here are the key pages every small business website should have:
- Home Page: The main page where you introduce your business with a strong headline and clear call-to-action buttons.
- About Us Page: Share your story, what your business does, and what makes it unique.
- Services/Products Page: Display your services or products with descriptions and images. Make it easy for visitors to learn more or buy.
- Contact Page: Provide your address, phone number, email, and a contact form so visitors can reach you easily.
- Blog (Optional): Share updates, tips, or industry news to engage customers and improve SEO.
- Privacy Policy and Terms (Optional): Important if you collect any customer data.
Once you’ve added these pages, start filling them with content that’s simple, clear, and aligns with your brand.
Step 6: Install and Configure Plugins
Plugins are like apps for your WordPress site. They add features and functionality, making your website more powerful. Here’s how to install and configure essential plugins:
Install Plugins:
- From your WordPress dashboard, go to Plugins > Add New.
- Use the search bar to find the plugins you need.
- Click Install Now, then Activate once the plugin is installed.
Essential Plugins to Consider:
- Yoast SEO: Helps optimize your content for search engines so more people can find your site.
- Wordfence Security: Protects your website from hackers and malware.
- WPForms: Allows you to easily add contact forms to your site.
- Smush: Compresses images to make your site load faster.
- WooCommerce: If you’re selling products, this plugin helps you set up an online store.
Configure Plugins:
After installation, each plugin will have its own settings. Go to the plugin’s settings page (usually found under Settings or in its own menu item) and follow the prompts to configure it according to your needs.
By adding and configuring plugins, you can enhance your website’s performance, security, and usability.
Conclusion
Creating a small business website with WordPress is a straightforward process when you take it step by step. By carefully planning your site, choosing the right domain name and hosting provider, installing WordPress, and customizing your theme, you’re laying a strong foundation for your business’s online presence. Adding essential pages such as Home, About, Services, and Contact, and configuring important plugins, will enhance the functionality and user experience of your website.
A well-designed website is more than just a digital space; it’s a tool that helps you connect with your customers, showcase your products or services, and grow your business. However, as easy as WordPress is to use, building a professional, high-performing site can still be overwhelming, especially if you’re focused on running your business.
That’s where The Sun Media House can help. With our team of experts, we offer personalized guidance and tailored solutions to ensure your website not only looks great but also performs at its best. Whether you need help with design, content, SEO, or digital marketing, we are here to assist. Let us help you turn your vision into a website that drives success.
Contact The Sun Media House today to get started on building a website that takes your business to the next level!